How to Iron Pleats
Maintaining pleats in a skirt or a pair of pants is thought to be one of the most challenging ironing tasks, but with the right technique, you can get your pleats looking fresh in no time. The technique varies slightly depending on whether your clothing item contains pockets or pleats all the way around. We’ll cover every one of these scenarios in this post and have you feeling confident about keeping your pleats polished.
General Tips:
The best way to find how the pleat is supposed to appear is to pinch the top of the pleat and gently pull down on the bottom of the garment or wherever you think the pleat should end. This will show you how long the pleat is and exactly where you should iron creases.
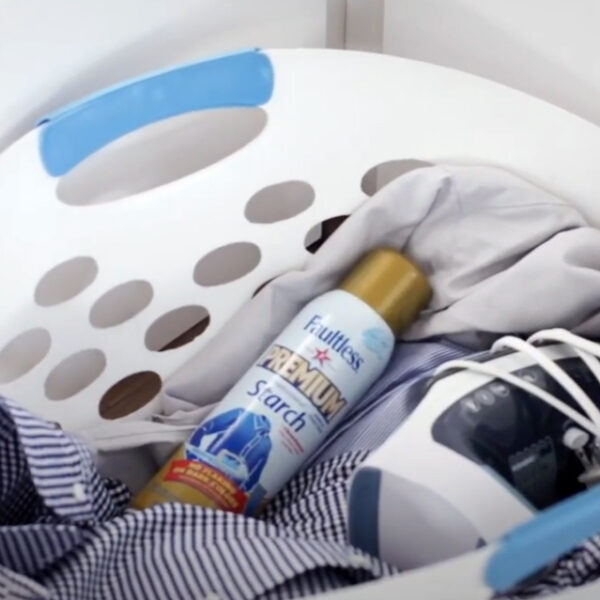
If your garment has pockets, turn it inside out and iron the pockets so that they lay nice and flat. Doing this will make ironing the pleats easier. You can use starch on the pockets to make them instantly flatten when you press them.
If you’re hesitant to use starch because your garment is dark, turn the garment inside out and spray starch on the inside of the garment before ironing the outside to achieve the same polished effect.
When a pleat won’t hold its shape for you to iron, pin it in place with sewing pins or paperclips. Iron above and below the pin, then remove the pin to finish ironing the pleat.
Here’s what you’ll need:
- Iron
- Ironing board
- Sewing pins or paper clips
- Spray starch (Niagara Original or Faultless Original will work)
How to Iron Pleats in a Skirt:
1. Drape the skirt over the ironing board with the waistband at the narrow end of the board so you’re working with a single layer of fabric.
2. Prep the skirt by pressing all the way around the waistband.
3. Find the pleat by pinching the top of the pleat and pulling down on the bottom of the skirt. If necessary, pin the pleat in place.
4. Spritz the pleat with starch to ensure a strong hold after pressing.
5. Press the pleat from top to bottom.
Repeating steps 3-5, work your way around the skirt pleat by pleat. To save time, pin your pleats in place and iron two or three at a time, being careful not to iron directly on top of the pins.
How to Iron Pleated Pants
1. Turn the pants inside out and lay them flat on the ironing board with the back pockets facing up.
2. Press the back pockets to eliminate wrinkles. Flip the pants over and press the front pockets.
3. Turn the pants right side out and spray with starch to ensure a smooth finish and lasting hold.
4. Press all the way around the waistband.
5. Find the pleats by pinching the top of the pleat and gently tugging on the pant leg until you see the pleat appear. Pin in place if necessary.
6. Press the pleat from top to bottom—typically, pants don’t have long pleats, so be careful not to force a pleat to be longer than it naturally wants to be.
With the right attention to detail and a little bit of starch, your pleats will look brand new. To ensure you’re using starch correctly, read our quick guide for getting started with starch.

